
How to Change a Mold? Mold Change Process for Efficient Mold Loading and Unloading
2024-06-07 10:13:56
The need for a mold change process in injection molding is common. This comprehensive guide outlines each step necessary to ensure safety and efficiency effectively.
The need for a mold change process arises in various scenarios, such as a change in product design, material type, production volume, mold maintenance and repair, prototype development, tooling wear or damage, etc. These conditions necessitate a new mold setup to accommodate updated specifications, different materials, and varying production needs, ensuring efficiency and quality in injection molding operations.
Before initiating the mold change process in injection molding, it is crucial to undertake several preparatory steps to ensure safety and efficiency.
1. Safety Gear and Tools Preparation
Ensure you have the necessary safety gear and tools:
- Safety Helmet: Protects against potential head injuries.
- Demolding Tools: Rags, anti-rust agents, and wrenches.
2. Mold Check
Please make sure that the mold is ready for installation by performing the following checks:
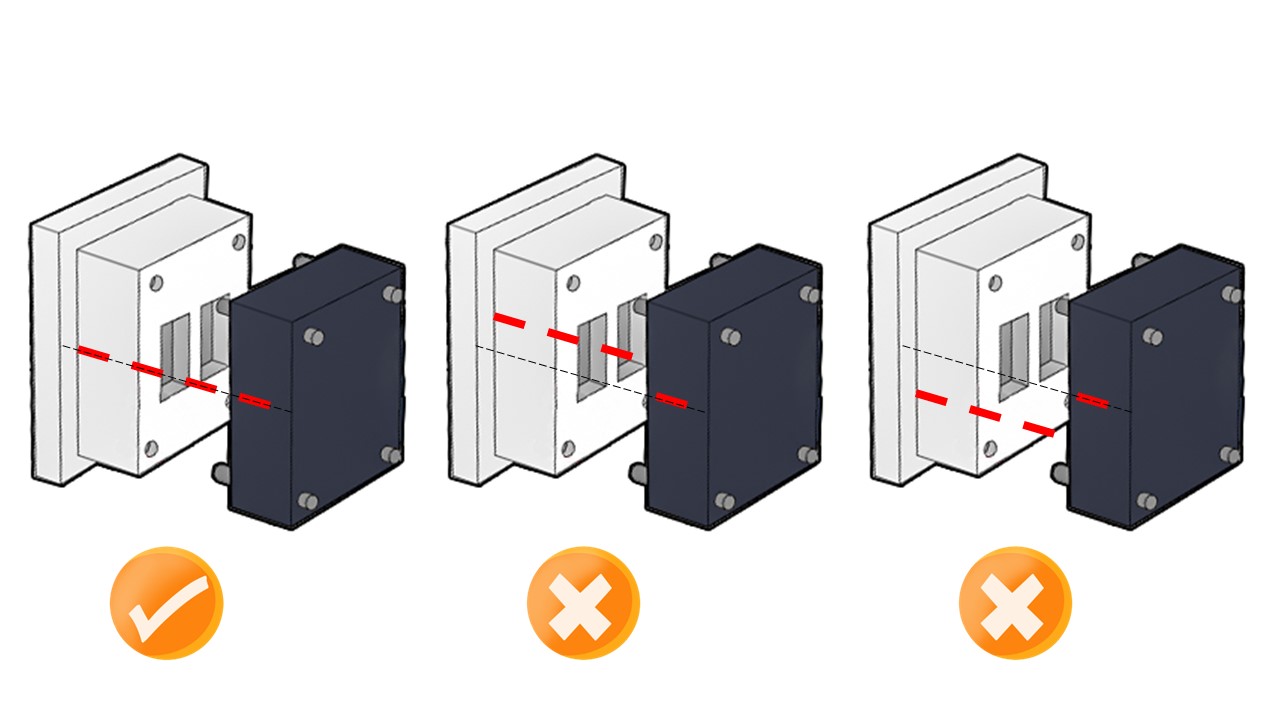
- Concentricity Check Between Mold Halves: When working with molds, achieving concentricity between mold halves is crucial to extending the life of the mold and improving the quality of the produced parts.
- Machine Compatibility: Please ensure that the tie bar distance of the designed machine can accommodate the mold size.
- Cooling Water Pipe: Ensure that the pipe joint is installed correctly and the water path is clear.
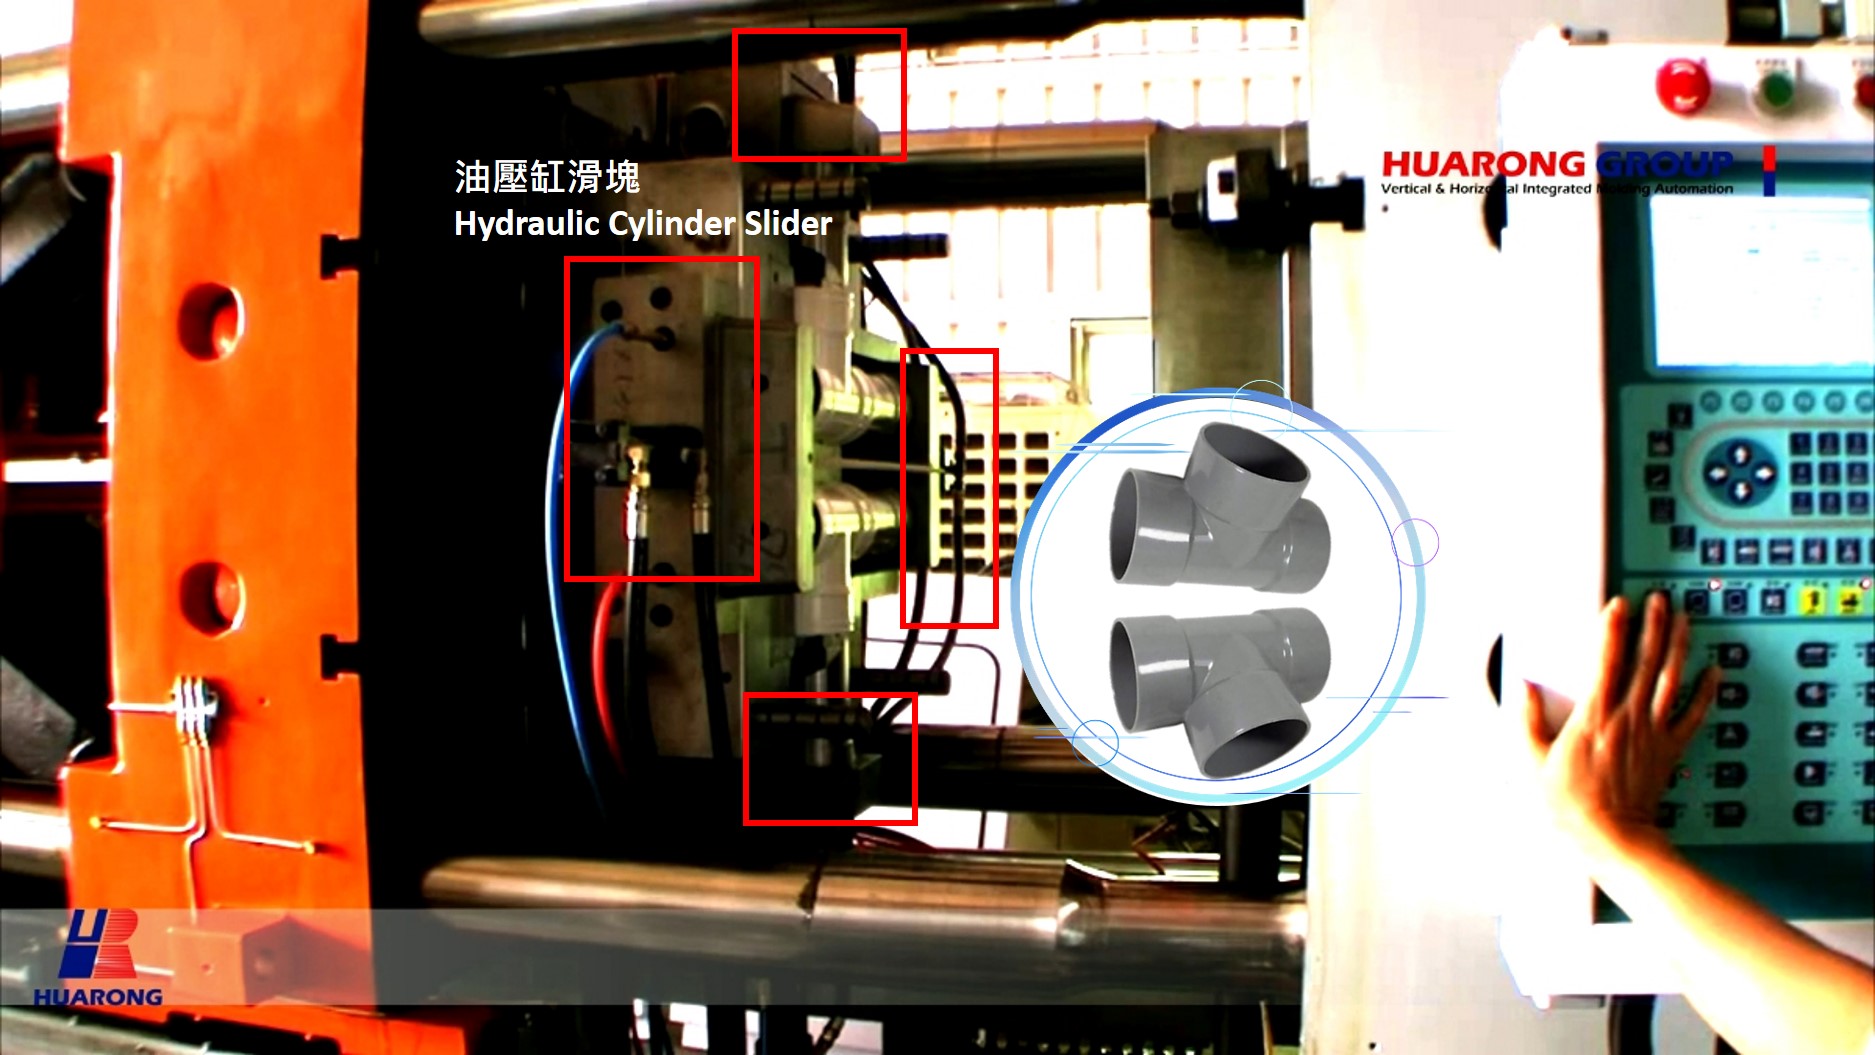
- Oil Pipe for Hydraulic Cylinder Slider (if applicable): Prepare and inspect the oil pipe and its joint. To prevent oil leakage, avoid using damaged pipe threads.
- Lifting Ring Installation: When installing the lifting ring, make sure that the depth of the lifting ring screwed into the mold is at least 1.5 times the diameter of the lifting ring. If the lifting ring doesn't fit the surface of the mold, it's recommended to use a gasket to prevent the lifting ring from bending or breaking.
3. Crane Check
Please thoroughly inspect the crane to ensure it is in optimal working condition.
- Controller: Test each button, especially the emergency stop button.
- Wire Rope and Shackle: Check for any broken strands or loops and make sure the shackle is not deformed and matches the weight of the mold.
4. Injection Molding Machine Power Up
- Turn on Power: Begin by turning on the power of the injection molding machine.
- Switch to Manual Mode: Click the button to switch the machine to manual mode.
- Activate Oil Pressure System: Press the oil pump button to activate the oil pressure system.
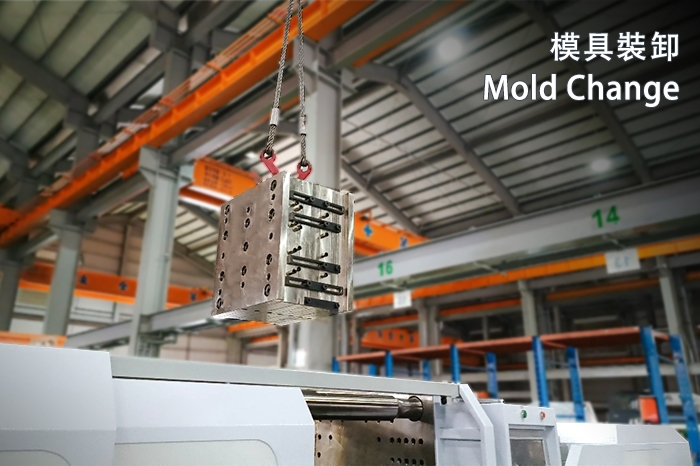
1. Properly Hanging and Lifting Mold
Place the shackle on the mold's lifting ring and use a crane to lift the mold. Pay attention to each shackle's load capacity to match the lifting mold's tonnage. If the mold weighs over 10 tons, ensure each shackle has a load capacity of at least 10 tons without bending deformation. Consider using double steel wire rope configurations with two sturdy rings. For projects weighing less than 10 tons, use a single wire rope with dual lifting rings.
2. Slowly Positioning and Leveling Mold
Carefully position the mold between the two platens of the injection molding machine. Lower the mold gradually to avoid hitting the tie bars.
3. Preventing Rust with Corrosion-Resistant Materials
To prevent rust and corrosion, it is recommended to use corrosion-resistant materials between the mold and the flattened surfaces.
4. Aligning the Mold
Please remember the following instructions:
- Move the crane to align the center of the mold gate sleeve with the machine's positioning ring.
- Manually push the mold to ensure it fits closely with the machine.
- Operate the injection molding machine in manual mode slowly until the machine’s clamping unit completely presses the mold.
5. Fixing Mold Halves to the Platen
Remember the following instructions when using the injection molding machine:
- Use the press plate screw to secure the mold halves in place.
- Operate the injection molding machine in manual mode, slowly opening the mold to check the opening stroke.
- Close the mold gradually and perform this action three times to ensure even distribution, proper settling, and no abnormal sounds.
6. Removing Hook Shackle and Lifting Ring
After ensuring everything is secure, you can remove the hook shackle and the lifting ring.
7. Debugging Injection Molding Parameters and Production Preparation
Adjust the machine settings to match the new mold's specifications. Test the mold for proper functionality before starting the production line.
1. Powering Up Injection Molding Machine
Turn on the injection molding machine and switch to manual mode. Activate the oil pressure system by clicking the oil pump button.
2. Opening and Cleaning Mold
Press the Open Mold button to ensure the mold is free from foreign matter, preventing contamination. Once the mold is open and inspected, spray it thoroughly with an anti-rust agent to prevent rust and corrosion, then securely close it. Carefully disconnect the cooling water pipe and clean the mold to remove any residual water, ensuring no moisture remains that could contribute to rust or affect mold performance.
3. Removing Mold Clamps and Preparing to Unload
Attach the lifting ring and prepare the wire rope and shackle to properly hang and tighten the mold. Then, move the crane slowly to lift the mold and loosen the press plate screw of the mold halves. Use the crane to slowly move the mold out and prevent contact with tie bars. Ensure the mold is placed in a safe area to store.
4. Other Reminders
If the mold requires repair or maintenance, promptly inform the engineers and provide detailed damage documentation. If the mold will not be reinstalled, turn off the oil pump and heating and power down the injection molding machine
Further reading: Injection Molding Machine Maintenance PDF and Checklist
The mold change process is a critical aspect of injection molding, directly influencing the safety of the molds and the efficiency of the injection molding machine. Loading and unloading procedures prevent damage and ensure smooth production processes. Adhering to these steps protects the equipment and safeguards the operators involved. If you have any questions related to the injection molding, please feel free to contact Huarong.
- Group Name: Huarong Group
- Brand: Huarong, Yuhdak, Nanrong
- Service Offerings: Injection Molding Machine, Vertical Injection Molding Machine, Injection Molding Automation
- Tel: +886-6-7956777
- Address: No.21-6, Zhongzhou, Chin An Vil., Xigang Dist., Tainan City 72351, Taiwan
- Official Website: https://www.huarong.com.tw/

Previous news : Comprehensive Guide to Vertical Injection Molding Machines
Next news : Learning the Injection Molding Machine Components & Functions